Monday, February 3, 2014

Our first month in review part two: BFIAR The Snowy Day and All About Me


So, what in the world is BFIAR you might ask.  I describe it a guided reading program for young children.  Some might call it a preschool curriculum.  There is a long reading list to pick from.  You and your children spend 5 days (or more in our case) on the books you choose to row.  If you don't have the time or desire to come up with fitting activities yourself, you can buy the unit guide and find the reading list at http://fiveinarow.com/before-five-in-a-row/.  I have found so many appropriate activities through Pinterest for the books I've chosen to use that I haven't yet invested in the unit guides, though I might some time in the future.

As I mentioned in the previous post, we just finished a row of The Snowy Day  by Ezra Jack Keats.  To compliment that story, we learned about snow, ice, and polar animals.  Since we live in southeast Texas, days with temps below freezing are few and far between, and very rarely does it snow.  This year was no exception, so we improvised.

In the story, the little boy Peter makes a snowball and puts in in his pocket before coming inside.  Before bed, he checks on the snowball only to find a wet pocket.  I explained to Hayden that when water gets very, very cold, it freezes and forms ice or snow.  But when the weather warms up, the ice and snow melt back into water.  We demonstrated this by making snow faces out of crushed ice, chocolate chips, carrots, and string (we should have used red yarn, but for some reason, I prepared ecru crochet thread...probably because it was handy at the moment).


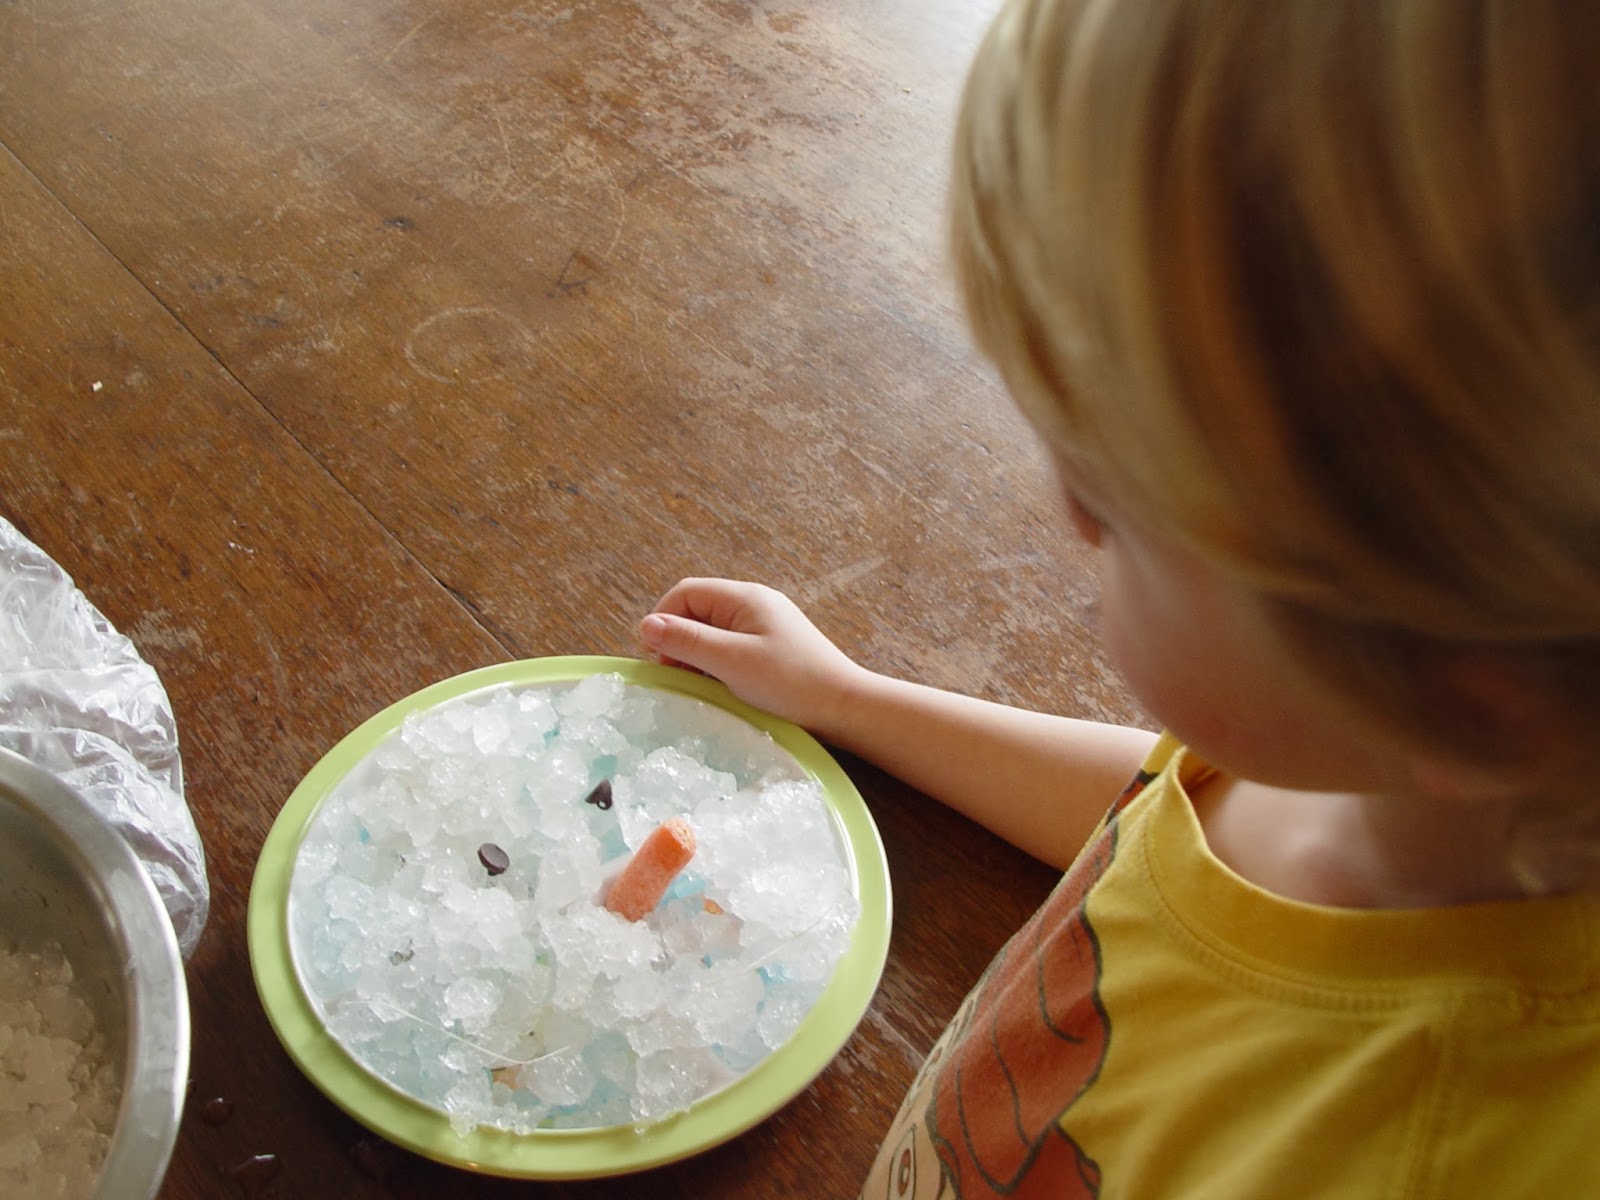
We put on of the snow faces in the freezer so it would stay very, very cold and we set the other out on the counter.  After a few hours, we checked on the two snow faces and this is what we found.  


He was amazed that the one on the counter had melted, but more than anything, just wanted permission to finally eat the chocolate chip eyes. :)

One of the days, we had a water and ice sensory bin.  I froze water in several different shaped containers as well as in a few lids.  Then filled a dish pan half way up with water.  We put the different sized ice cubes/sheets in the water and observed how part of the ice was above the water while part was below the water.  We got out our plastic polar animals, some from the Wild Republic Polar in Nature Tube  set and some from the Safari Ltd Arctic TOOB  set and talked about which animals spent most of their time on land or the ice vs. the water.  

We observed how cold the water was after adding ice, which led us to do the "blubber" experiment.  I filled a quart sized baggie half full of Crisco.  First we put our dry hands straight into the water and observed how cold it felt.  Then we put our other hand in the bag of Crisco making sure it was surrounded on all sides by Crisco and submerged it in the water.   Hayden said in amazement, "Mommy this hand isn't cold."  We talked about how marine mammals like whales, seals, and walruses have a thick layer of blubber under their skin to keep them warm in the cold waters.  Unfortunately, this was one of the many activities that I neglected to photograph.

I printed these polar animal flashcards on card stock and used them as part of my bulletin board display.  

Our second week in, we attempted sugar crystal snowflakes.  I made the snowflake out of cotton crochet thread and weighted it with a paperclip as opposed to making one out of a pipe cleaner because I thought the kids might want to try the rock candy when the experiment was over.  Turns out we should have made pipe cleaner snowflakes because neither one wanted to try them, and the thread just clumped up leaving us a blob of rock candy rather than a beautiful snowflake.  But it was cool, none the less, to watch it form over the course of a week.


This was super easy to do.  Just heat up a cup of water to just before simmering, and dissolve 2-3 cups of sugar.  You'll know when you've added enough sugar when the water becomes so saturated that the sugar will no longer dissolve and the water has become cloudy.  Remove the solution from the heat and poor it into a wide mouthed glass canning jar.  Suspend your snowflake from a pencil and lay the pencil across the top of the jar so that the snowflake hangs down inside the jar without touching the bottom.  If you're using string, you'll need to weight it down with a paper clip.  Be sure not to let the paper clip touch the bottom or crystals will form on the bottom of the jar making it very hard to remove the snowflake at the end of the week.  Then, just watch the crystals grow.

If you don't see any growth occurring after the first day, your solution wasn't saturated enough.  In that case, remove your snowflake and reheat the solution adding a bit more sugar and try again.

For our afternoon snack, a few days in a row, we made snow pretzel stick and marshmallow snowflakes and pretzel stick and marshmallow snowmen.  These were so cute, but alas, I again forgot to snap a pic.

Last but not least, we made a lap book using the printable story sequence cards from homeschool creations as well as the snowflakes from the same set of printables (for patterning).  For the front of the book, we "built" a snowman.  You can't see it in these pics, but under the red flap are two little pockets to hold the snowflake cards and the sequencing cards.  I attached sticky Velcro dots to both sets of cards and where I wanted Hayden to put them in the lapbook.  I didn't, however, pay close enough attention to whether the hooks or the loops were on the back of the cards, so if he didn't attach them in the same order I originally attached them, we had a problem...live and learn.


Stay tuned for part three.


**As a disclaimer, this post contains affiliate links.**

Our first month in review part one: BFIAR The Snowy Day and All About Me


Wow wee what a month!  I had planned to blog once a week to show y'all all the fun we had throughout the month, but as you can see that didn't happen.  It took me a while to find a balance between planning out the kid's "school work" each day and managing two businesses, Posh Patooties Luxury Baby Boutique and the Mommy Market.  I also kept forgetting to have the camera ready and available to snap pics of us in the moment, so I snapped some pics of the work they did after the fact.  Hopefully I'll be more on top of things this month.

We did have lots of fun though, and I was pleased with the progress both kids made and how eager they were to do their "school work" every day.

So as not to overwhelm you, I think I'll break this month up into several smaller posts instead of trying to cram it all in to one big long post.  Here we go!!

I never managed to get a picture of it, but I have a large cork bulletin board hanging on one wall in the school room.  I used borders to split it in half and devoted one side to each child and his or her learning objectives for the month.  Hayden's (age 3.5) side consisted of opposites, numbers 1-10, polar animals, L consonant blends and the 5 senses.  Sophie's (age 23 months) side consisted of the color white, the number 1, the letters A, B and C, and circles.

We started the month with a Before Five in a Row (BFIAR) study of The Snowy Day by Ezra Jack Keats so there were a lot of winter themed items on the bulletin board.


I printed out several copies of these numbered snowflakes to use on the bulletin board and for various activities.  In the pic shown below, I prepared one of Hayden's work boxes with a cookie sheet, the numbered snowflakes out of numeric order, and these Melissa & Doug Magnetic Wooden Numbers.  His task was to order the snowflakes from 1-10 and then find and place the correct magnet on each one.


Although he can count to 20, ordering is not something we worked on until this month, so it was challenging the first few times we did an activity like this. He picked up on it quickly though and Sophie got in on the fun.  She has a set of letters and the number she's working on permanently in one of her boxes which she pulls out daily.  BTW, I love, love my Trofast storage system and so do the kids.  I only wish I had room for more units.

I also love these little strip puzzles.  The one pictured was from 2teachingmommies.com. It was challenging for Hayden to remember that the numbers all had to go on the right hand side of the tray for the puzzle to come together correctly.


I made my own set of L consonant blend mittens to use on the bulletin board.  Feel free to print them out and use as you see fit.

We also used these mittens for memory matching, sorting, and counting.  Sorting by an attribute was quite possibly the most challenging thing for Hayden to grasp and we're still working on it.  If anyone has any suggestions, I'm all ears.

I am a big fan of these clothespin activities.  They are a fantastic way to incorporate learning objectives with fine motor development.  We did several throughout the month.  Holding the card with one hand while clipping the clothespin on the correct answer was just the right amount of challenge for Hayden.


I'm clearly not the master of taking non-blurry pictures. :)

I also introduced clothespins to Sophie with a different activity.  With a permanent marker, I wrote the upper case letters on 26 clothespins, then pinned them in order around the sides of a plastic storage bin with thin straight sides.  She doesn't quite have the coordination yet to remove or pin them back on (even with two hands), but she pulls the box out every few days and puzzles over it.  Sometimes she gets lucky and pulls one off by sheer brute force.

Hayden did quite a bit of patterning work this month...also not something he had really been introduced to before, but something he picked up on quickly.  Here you can see him using the Lauri Tall-Stacker Pegs Building Set .  I started the pattern off with the first 4-6 pegs and he completed the pattern in each row.  We also did the same activity with LEGO blocks and mittens mentioned above.  Next month I'm going to have him work on creating his own patterns.


These stacking pegs were a new manipulative for us.  The set I purchased has it's pluses and minuses.  I plan on reviewing them in another post very soon.

That's all I have time for right now, but I'll post parts two and three soon along with the review of the stacking pegs.  Have a wonderful week!


**As a disclaimer, this post contains affiliate links.**